Saratoga - Part 3
The Middle Ravine
Always the gambler, Burgoyne planned to attack the American defenses the day after Freeman's Farm, but he decided to wait and entrench when he received word that Sir Henry Clinton was advancing north from New York City. Both sides posted pickets near the Middle Ravine. American troops constantly harassed the British pickets and even got to within view of the new British fort at Freeman's Farm, Balcarres' Redoubt.

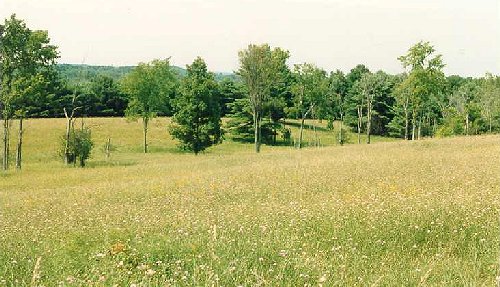
Barber's Wheatfield
Unable to push back the Rebel pickets, Burgoyne decided on another reconnaissance in force. On October 7th, he sent out 1,500 men under Balcarres south to probe the American position while 600 men under Fraser swung further to the west, in a field beyond the treeline on the right of the picture. The main force of 1,500 deployed here on the northern end of Barber's Wheatfield and began harvesting the wheat. Specifically, Riedesel's Germans were in the field on the right of the picture.
The British movement having been detected, Gates sent out a force to attack the enemy. At 2:30, American troops appeared opposite the British. Poor's brigade of 1,500 men attacked roughly to to the left of the low scrubby trees visible in the field on the left-center of the picture, while Learned's brigade of 2,000 men attacked to the right. Ten Broeck's NY militia also entered the battle here. But attacking regulars supported by ten cannon solely in the open field would have been difficult, despite the British line being thin. Instead Morgan moved into the woods to the west to flank Fraser while Poor did the same on the eastern flank, off the picture to the left. Morgan threw back Fraser's flank column and moved on Balcarres' flank and rear. Poor's men greatly outnumbered the British left and pushed them back, wounding and capturing Maj. Acland commanding the grenadiers. Only the Germans in the center held, but overwhelming force on front and flanks pushed them from the field. In a rearguard action, Fraser was killed by renown marksman Timothy Murphy.
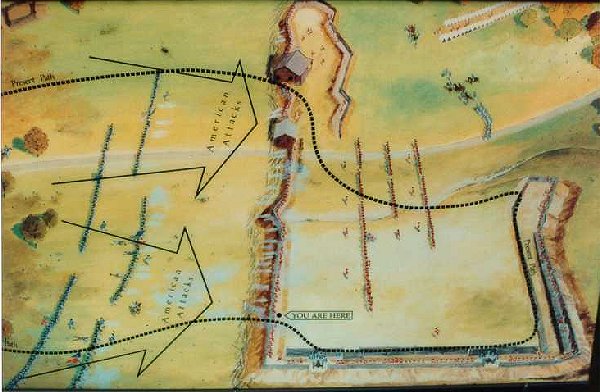
Attack On Balcarres Redoubt
Benedict Arnold had been relieved of command following Freeman's Farm but came to field and led the men in attacks on the British fortifications. Most of the British had fallen back to the Balcarres' Redoubt at Freeman's Farm, and Arnold led three attacks, one of which nearly reached the walls of the fort. The British defenses were too strong and Arnold moved further west in search of opportunity. This is an artists' impression on display at the national park showing the American attack.
Looking West from Balcarres' Redoubt to Bloody Knoll
If memory serves me correctly, this is the view looking west from Balcarres' Redoubt. An outwork of the fort on the hill on the left of the picture was captured by the Americans. The hill earned the name Bloody Knoll from the fighting.

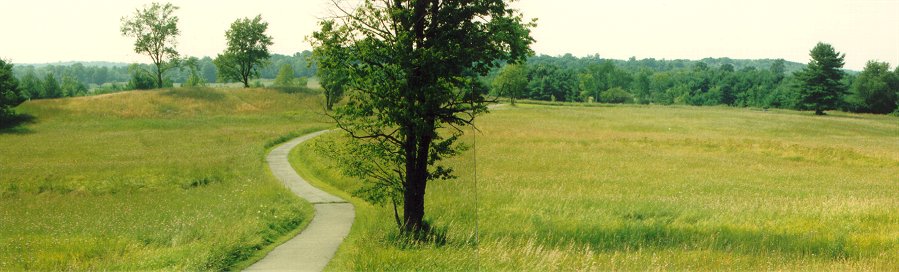
Looking North Along Balcarres' Redoubt
Yep, this is a recycled shot of Freeman's Farm. The red tipped stakes show the location of the western side of Balcarres' Redoubt, the side attacked by the American forces. With the attacks failing to capture the fort, Arnold moved west, hoping to lead the American forces to victory elsewhere.
Back to Revolutionary War Virtual Battlefield Tours