Maginot Line - La Ferte

May 18, 1940


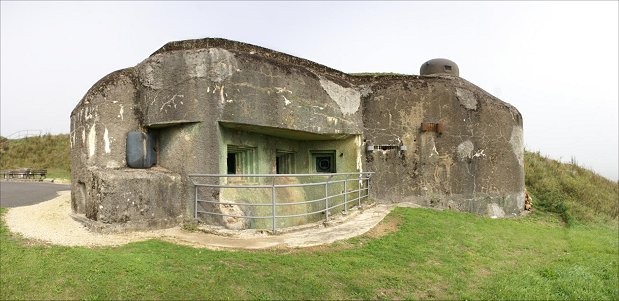
On the far left of the Maginot Line, the Ouvrage La Ferte was not as strong as many other forts along the Maginot Line.  Built as part of a later extension of the Maginot Line to deal with a potential German attack through Belgium, budgetary considerations meant that La Ferte 
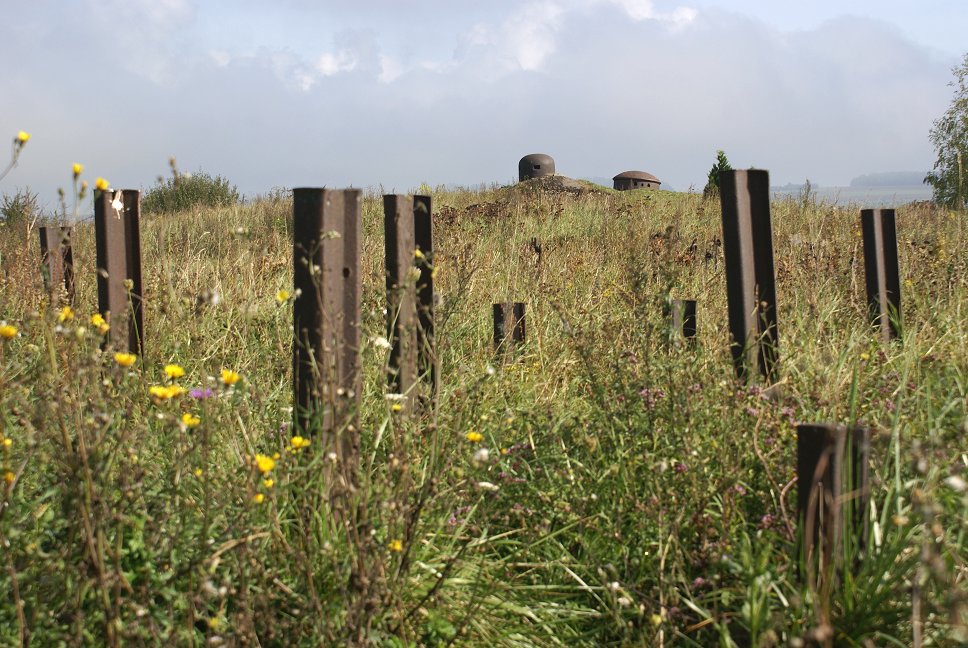
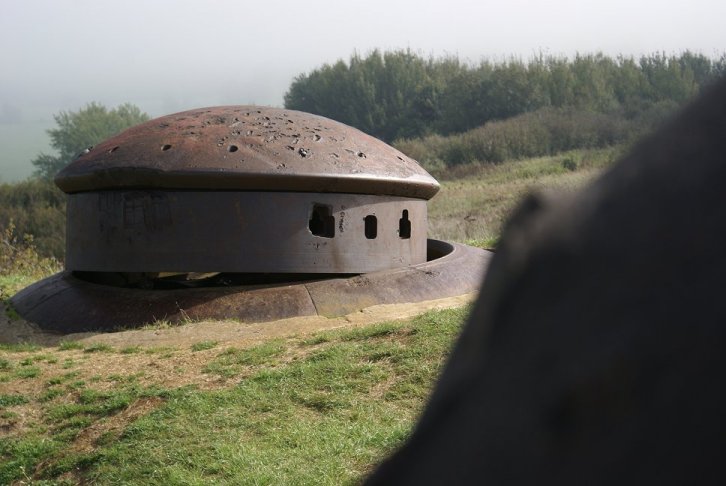
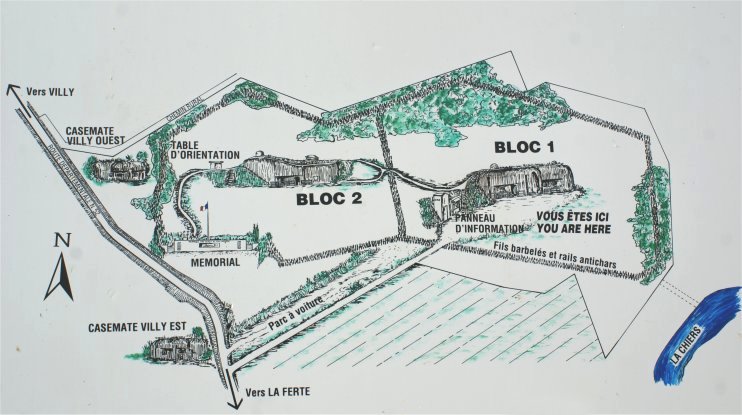
was a Petit Ouvrage rather than a Gros Ouvrage.  La Ferte had only two combat blocks, down from the three originally planned, compared to twenty in some larger forts like Hackenberg.  Due to budgetary concerns, La Ferte and the forts of the extension were further away from each other and could not support each other as well as the stronger forts along the center of the Maginot Line.  The 75mm guns at neighboring Fortress Chesnois, for example, could reach La Ferte but not the open ground to the west of La Ferte.  There was also dead ground not covered by the the La Ferte work's weapons.  The Germans knew of some of these weaknesses and saw the morale advantages of a successful attack on the Maginot Line, which many people believed was impregnable.  As German troops advanced through Belgium protecting the flank of the panzer thrust, they also moved south to widen the penetration.  La Ferte was 12 miles from the Sedan bridgehead.  
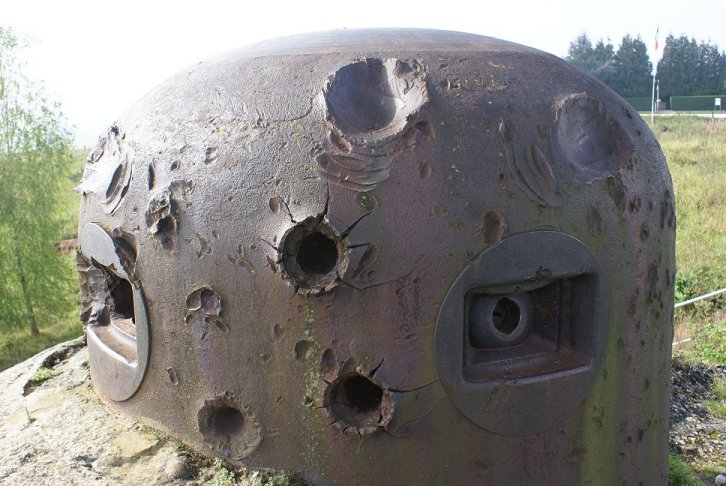
By May 13th, the La Ferte ouvrage was faced by the German 71st Infantry Division with attached combat engineers equipped with the kind of shaped charges first used a few days earlier with great success at Eben Emael.  A diversionary attack on the Maginot Line might lure French troops away from the panzer thrust, making their task easier.  By May 18th, the Germans advance had gotten around the flank of the ouvrage, which was now isolated, and they were ready to attack.  


Like other Maginot Line works, La Ferte was surrounded by barbed wire and anti-tank obstacles made from railroad rails.


Block 2

A preliminary bombardment created gaps in the wire and created shell holes that the advancing German troops used for cover.  Some of the craters were 30 feet across and 12 feet deep.  Smoke shells shielded the fort from the view of neighboring French positions.  The anti-tank obstacles also provided some cover to the advancing infantry.


The ouvrage was attacked from front, the direction of Villy, and from flank, the direction of the post war cemetery.


Cupolas were the target of 88mm rounds, but only a lucky hit caused three casualties.  This cupola on Block 2 was disabled by German engineers using explosives.  A cupola of this sort would be equipped with machine guns and 25mm guns.  With the cupolas out of action, the engineers went after the AM turret.


This turret, an AM turret, was equipped with mixed weapons.  The preliminary bombardment had disabled the turret, sticking it in the up position unable to turn.  A German shaped charge opened a hole in the weapons embrasure that you can see on the left.  The Germans then dropped a charge into the turret.  The resulting explosion blew the turret into the air, and it dropped down, falling off center.   Block 2 was now disabled and on fire.


Block 1

Block 1 was attacked next and soon caught on fire.  The garrison of 107 men from both blocks withdrew to the tunnel that connected the two blocks, and the commander, Lt Maurice Bourguignon, contacted his superior to ask permission to surrender.  Told that a Maginot Line fort was like a submarine and did not surrender, the men remained in the tunnel with gas masks on, victims of the ignorance of distant officers who had little idea of the situation.  The masks were not designed to deal with the level of carbon monoxide present, however, and several days later the Germans found the whole garrison dead in the tunnel. 


Many of the dead are buried nearby, and the ouvrage is preserved as a museum and war memorial.


The successful German attack stripped the Maginot Line of its reputation for invincibility.  The action here had also diverted French troops from Stonne, thusly helping protect the bridgehead at Sedan.


Copyright 2012 by John Hamill


Back to John's Military History Tour of Europe